Estimated Ship Date
- Ratchet (Cordless is optional if you have it)
- T50 Torx Socket or L-shaped Key
- 10mm Socket
- 13mm Socket
- 5/32" Allen Key
- 1/16" Allen Key
- Pick tool, prying tool, or small screw driver

Consider which accessories you will be mounting before installation. While it is easier to install items on the panel without it being mounted in your vehicle, it is still possible to mount accessories after using our MOLLE nuts.
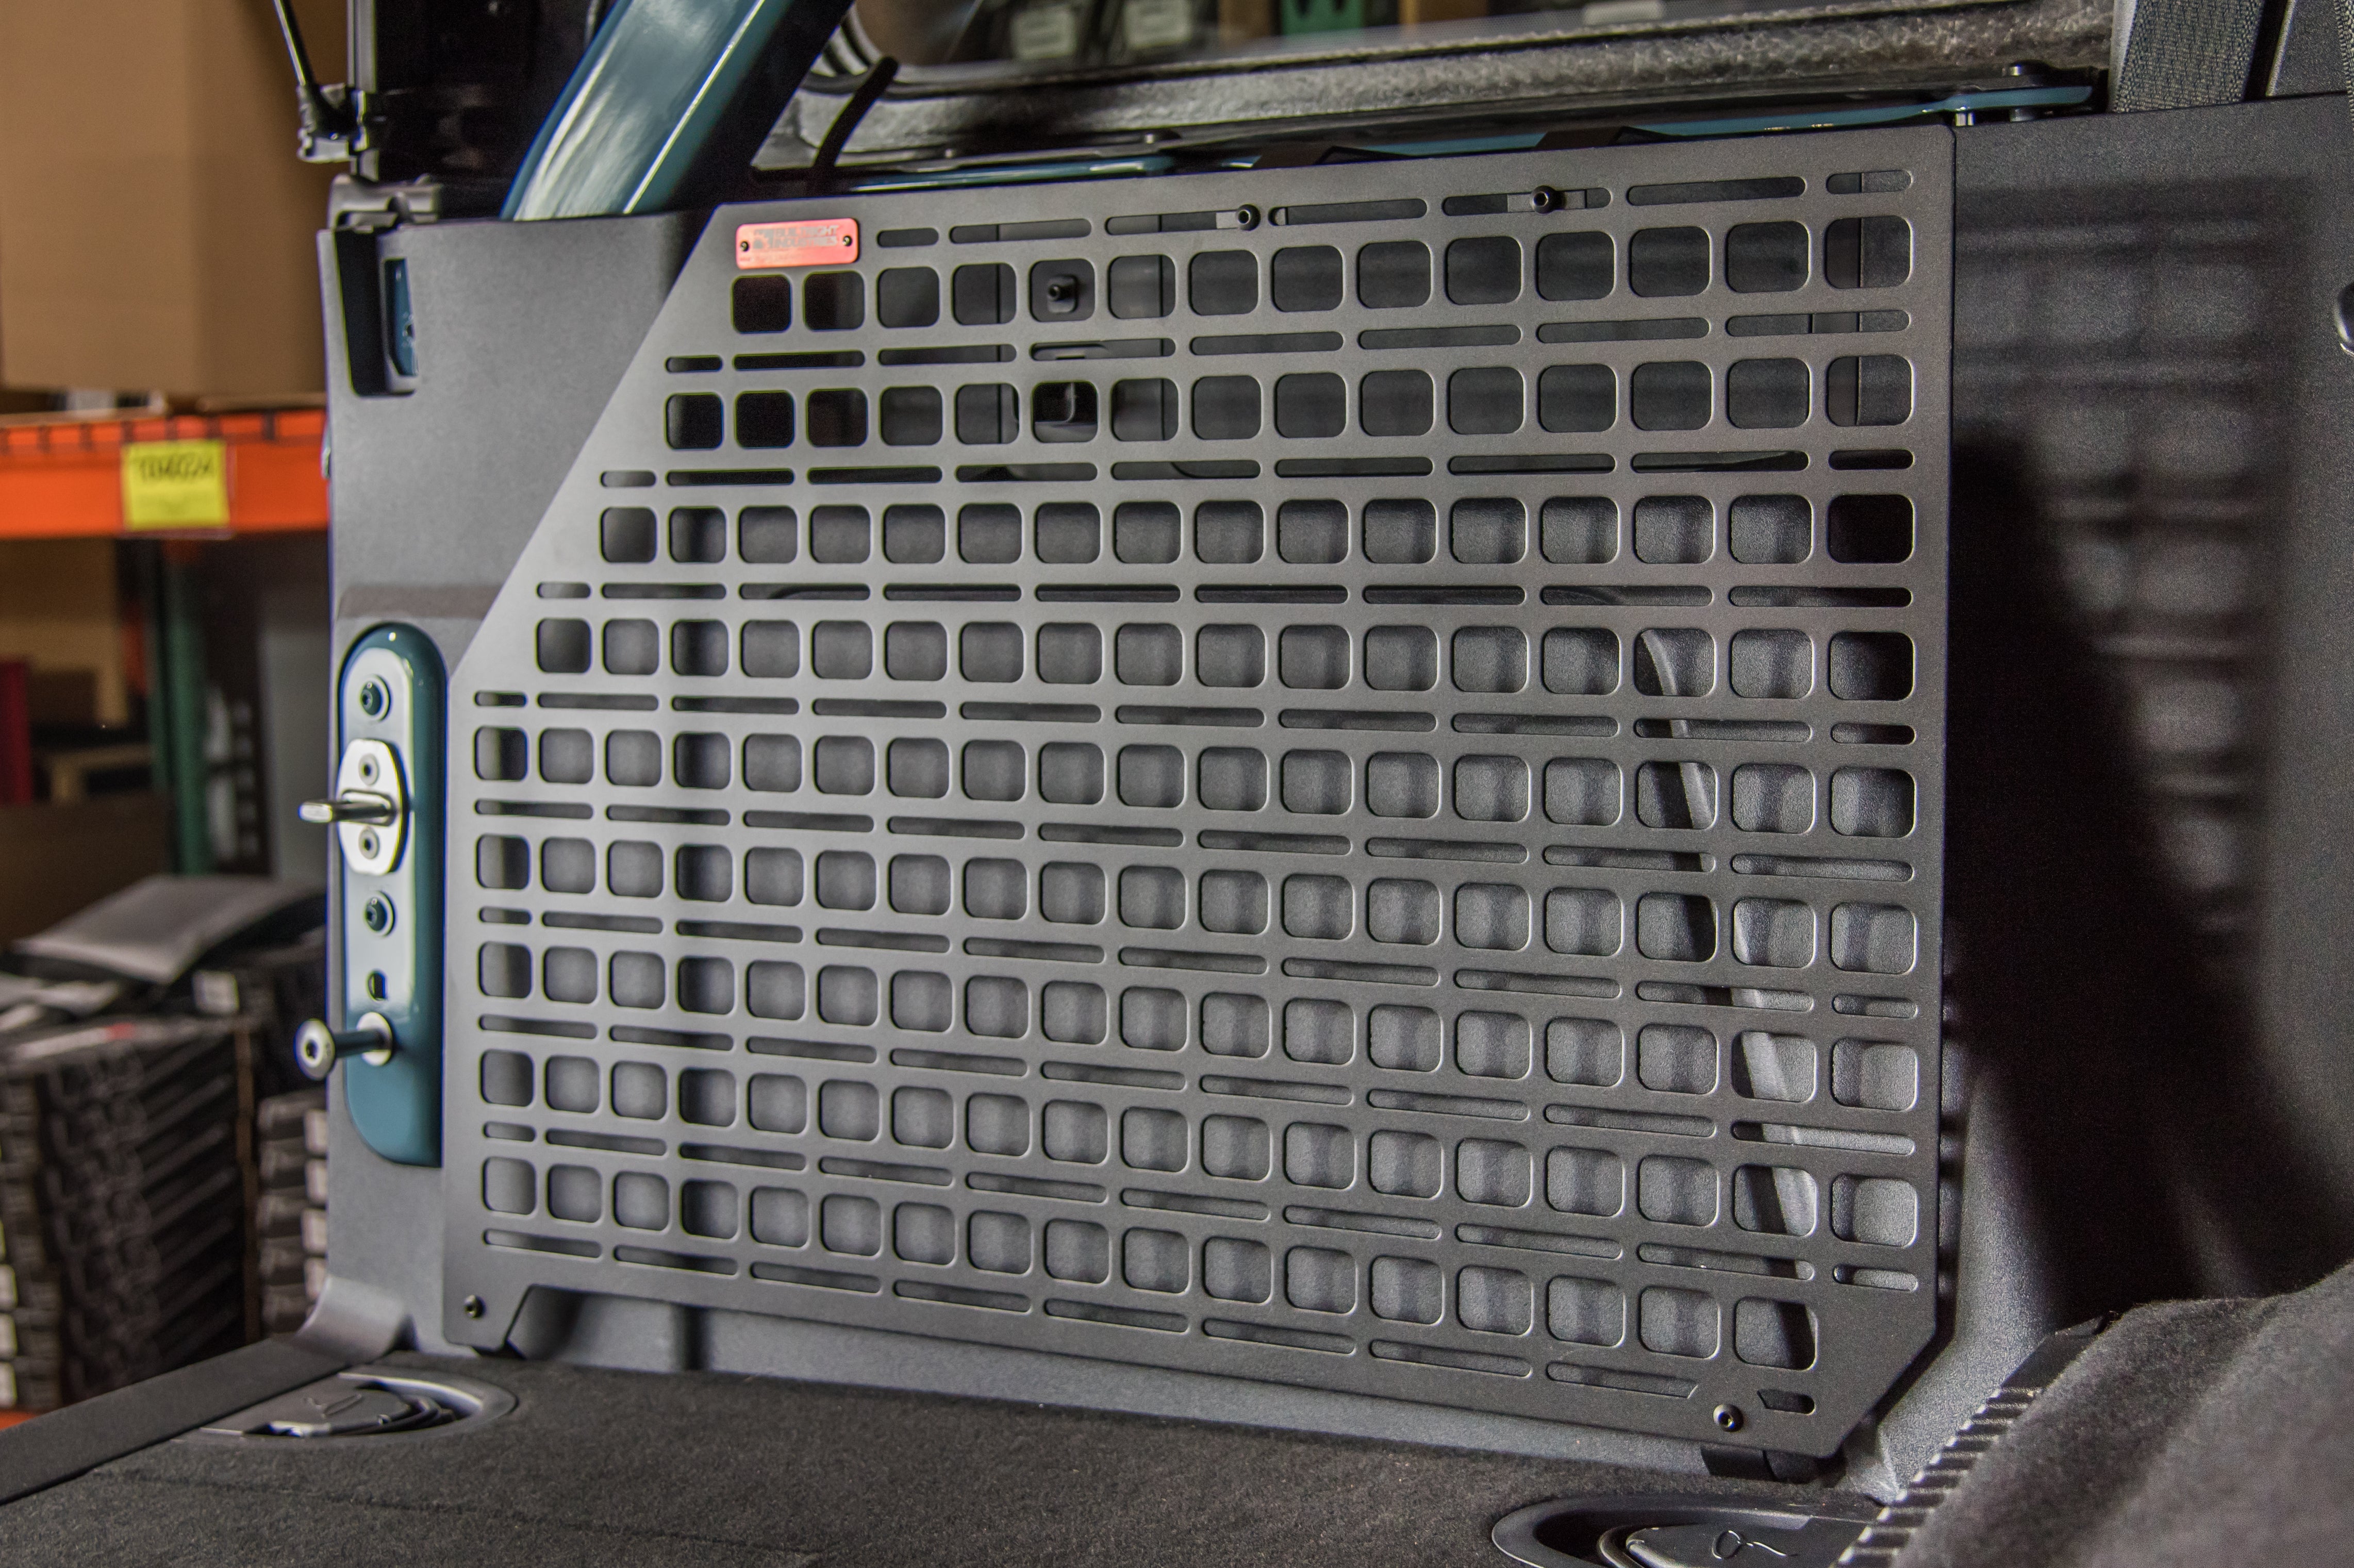
1. Begin by installing the laser cut brand tag onto the panel with the small button-head screws, hand tight using a 1/16th inch Allen Key. Set panel aside.

2. Use your pick tool to pull the plastic covers from the stock tie downs. Pry up and pull forward to remove. Repeat for both the front and rear tie downs.

3. Using your 10mm Socket, remove the bolts securing the tie downs. Place to the side as you’ll be using these soon.

4. Starting with the front bracket, slide the bracket under the carpeted subfloor from the rear towards the front. Align holes on the bracket with the stock tie down holes and ensure the upright tab is pinched between the subfloor and interior plastic. Repeat with the rear bracket. If you are concerned about scratching the interior plastics while sliding the brackets, lining the area with painter’s tape will help protect it.

5. Reinstall the stock tie downs and bolts. Make sure to start these bolts by hand to ensure they are threaded properly before tightening down with a ratchet. Then click the plastic tie down covers back into place.
6. The mounting points of the top brackets are located behind a plastic cover. To remove it, pull on the plastic toward you – a quick and firm tug should do the trick to start it. Work your way around the cover popping the rest of the clips, and then remove the panel. Set aside as it will be reinstalled.

7. Behind the panel you’ll notice two screw holes. If you have a soft-top, you can mount the brackets right onto the stock stamped bracket that is there using your factory hardware. If you have the hard-top, you will need to use the included white spacers and M8 bolts. Place the spacer against the body and begin threading the M8 bolt by hand. Position the top bracket as pictured below, between the loose bolt head and spacer, then tighten down the bolt using your 13mm Socket. Repeat on the other side.


8. Replace the plastic trim by wiggling back into place and applying pressure around the entire piece to secure clips.
9. Using the black ¼ - 20 button-head fasteners, attach the panel to the lower brackets first with your 5/32 inch Allen Key. Leave the bolts loose to help with aligning other fasteners. Continue to the top brackets. Once all are aligned and threaded, tighten down all 5/32 inch bolts.

10. Repeat this process to install your other Cargo Area MOLLE panel, if you ordered both panels.
We hope you found this installation straightforward and this guide helpful. Additional guidance can be found in the installation video on our YouTube.
No worries if you’re still having trouble! We're only a phone call, email, or direct message away from answering your questions.
Phone: 203-546-8981
Email: support@builtrightind.com
Social Media: @builtrightind

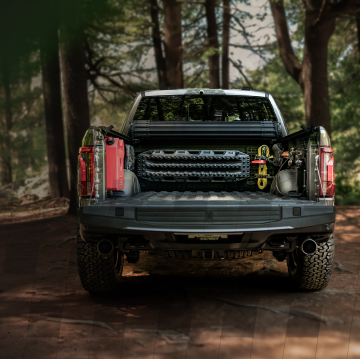


Installation Guide: 2-Door Bronco Cargo Area MOLLE Panels
Installation Guide: 2-Door Bronco Cargo Area MOLLE Panels