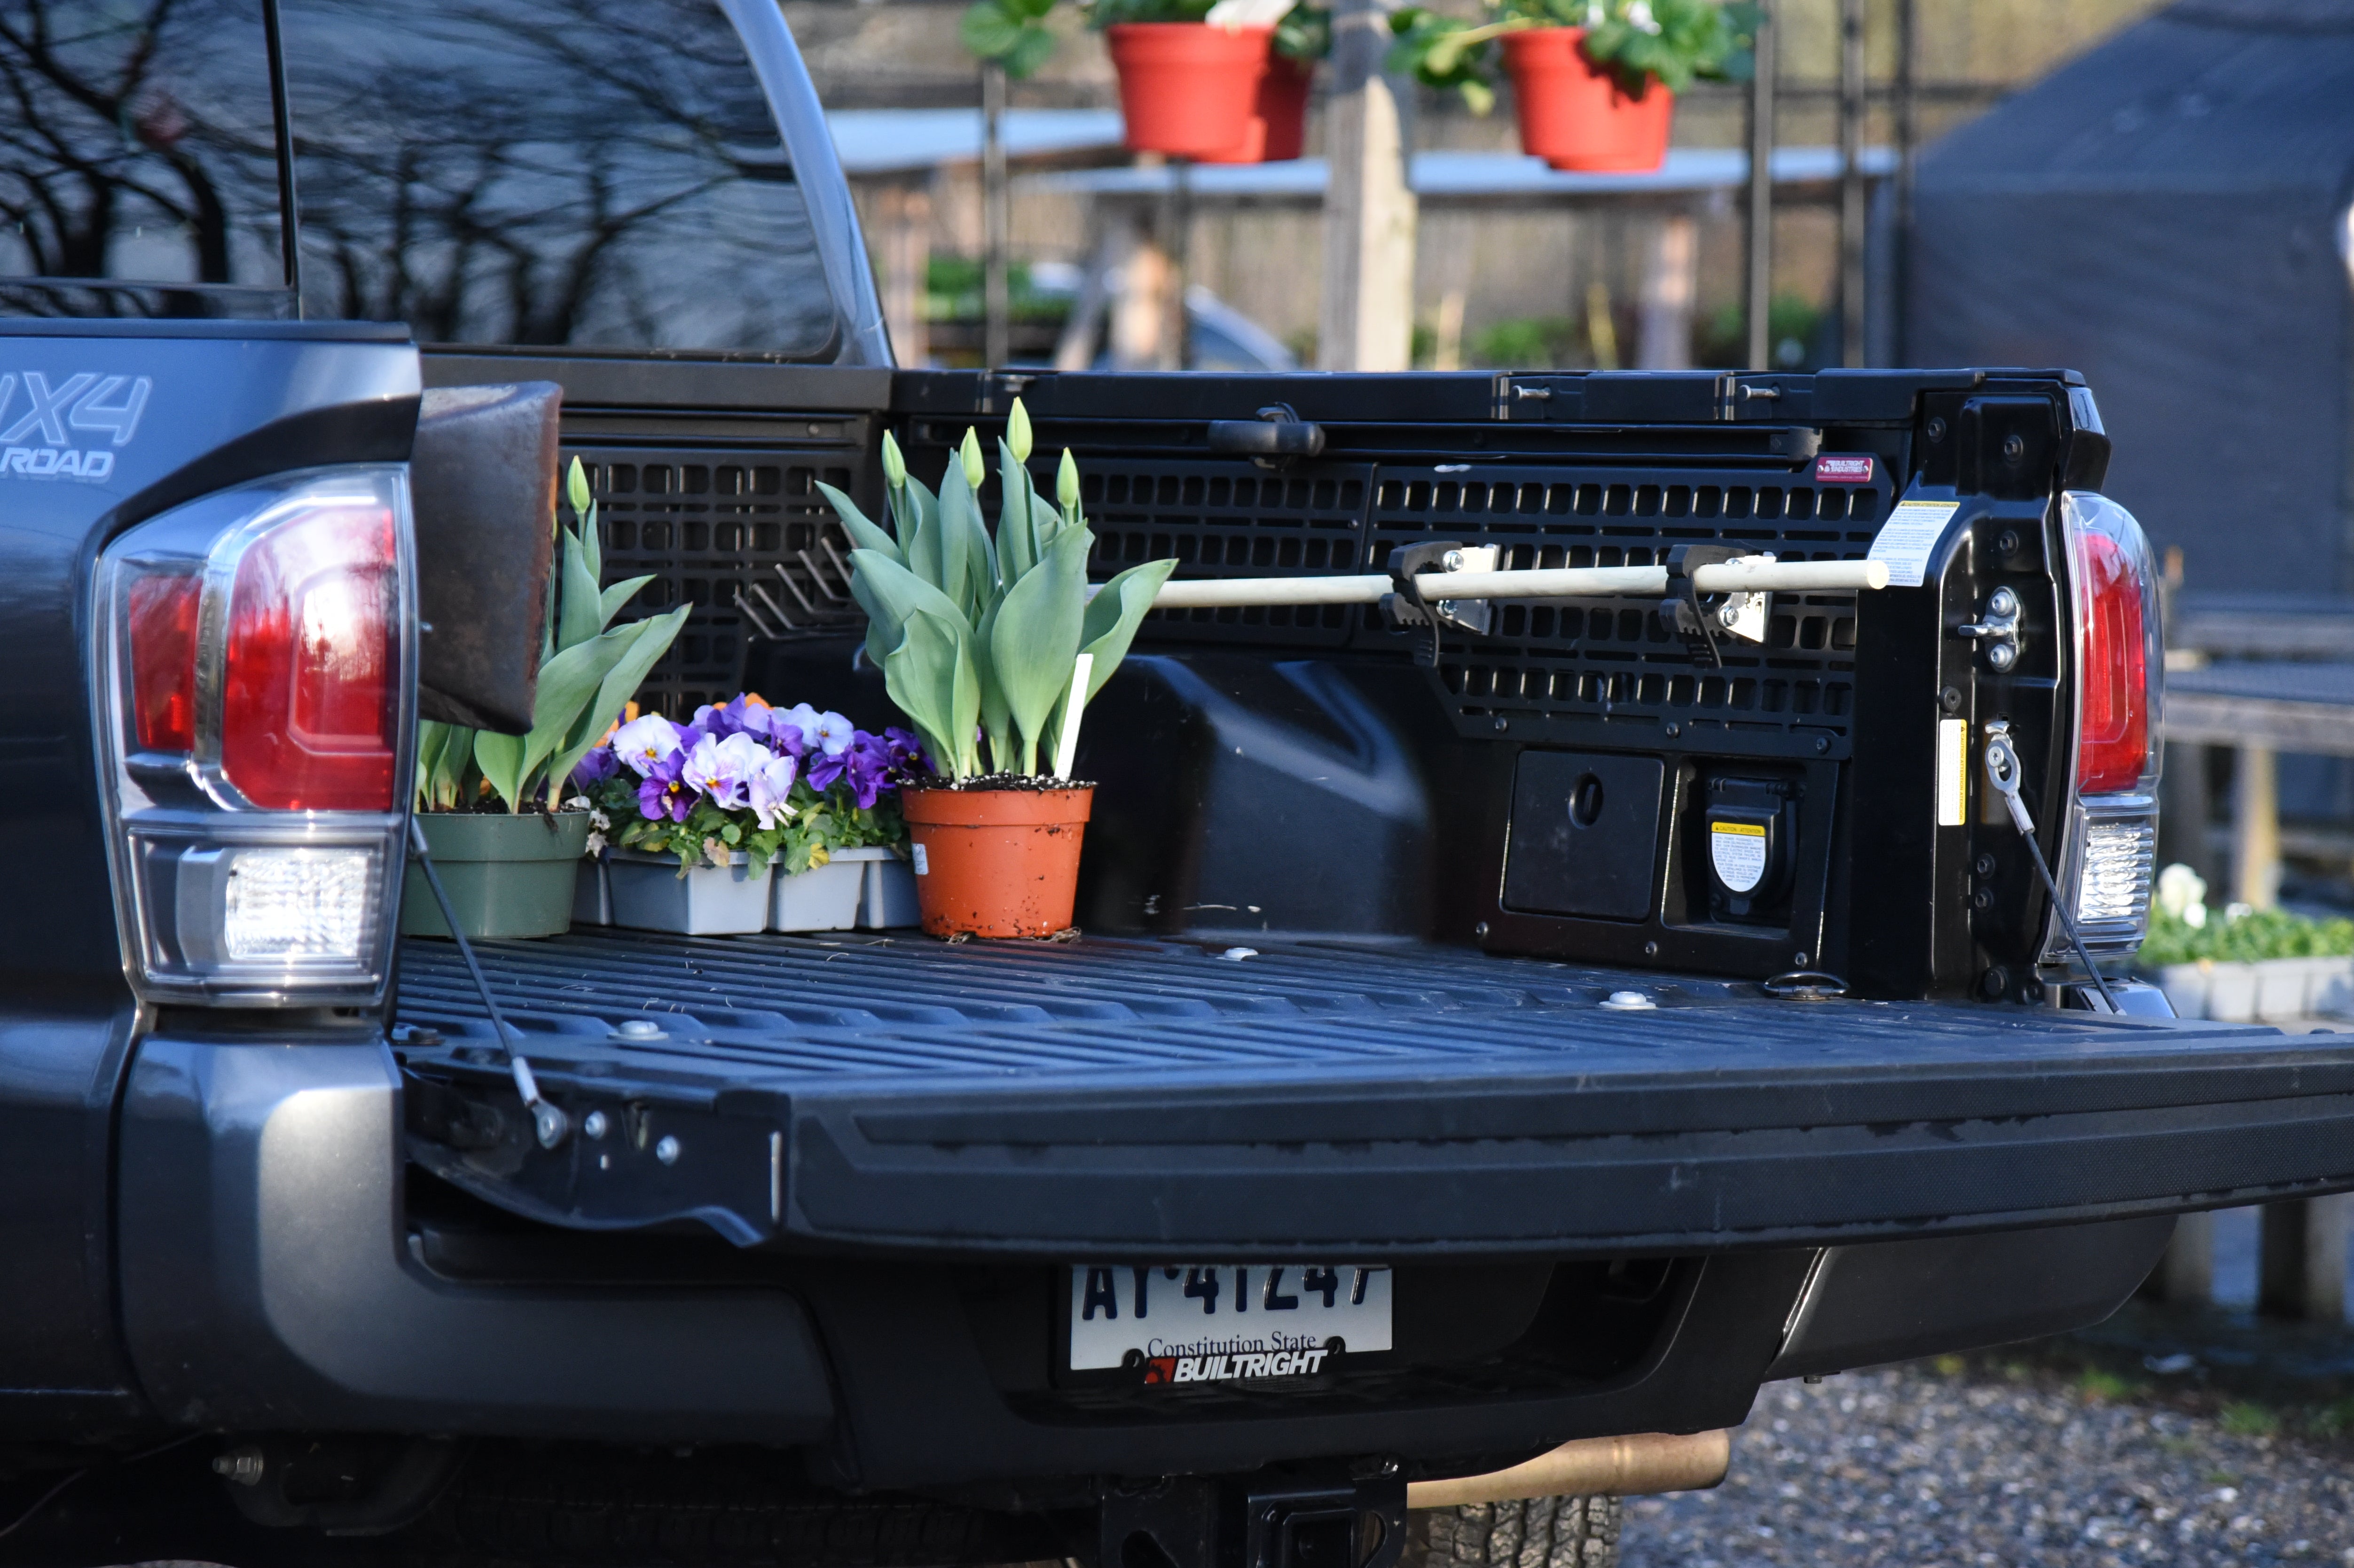

Installation of the Toyota Tacoma MOLLE Panels is one of the easiest installs you can do. The design was purposefully engineered as simple, using stock hardware when possible, and the fewest number of fasteners and brackets. This not only makes the installation straight forward but it also minimizes the opportunity for product failure.
- T30 Torx Bit
- 5/32 Hex Key Allen Wrench
- T55 Torx Bit with Impact Driver

1. Begin by removing the factory utility hardware and rail using a T30 Torx Bit.

2. Before mounting the Tacoma MOLLE Panels consider what gear will be installed. Installation of most things will be easier with the panels are off of the truck. However, if you end up adding things down the road our MOLLE Nuts make it easier to attach without removing the panels.
3. Slide the front or rear (doesn’t matter which direction you work) Tacoma MOLLE Panel behind the factory rail. While holding both in place thread a couple of the factory T30 hardware in to support the rail. An extra set of hands can be useful, and if that’s not an option you can use your foot. While all the hardware is still loose, slide the other Tacoma MOLLE Panel behind the rail, and thread the T30 hardware.

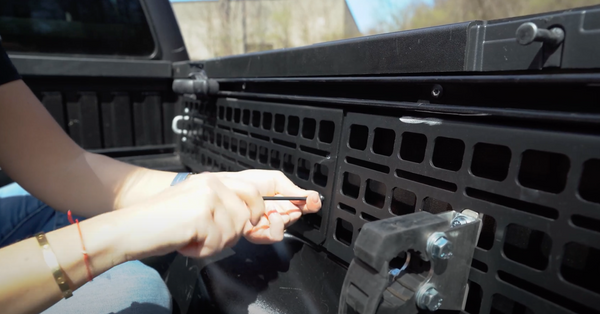
4. Add the included 1/4-20 button head fasteners finger tight with your 5/32 Allen wrench to connect the two MOLLE panels and then tighten down the factory hardware.

5. Repeat on other side.

1. Begin by removing factory rail hardware using a T30 Torx bit.
2. Loosen the two Bed Bolts near the front of the bed with the T55 Torx. You may need an impact driver.

3. Before installing the Tacoma MOLLE Panel, slide the supplied bed bolt bracket in place.

4. Slide the Tacoma MOLLE Panel behind the factory rail and thread factory bolts but leave hardware loose. Repeat on other side.
5. Next, thread and tighten down the three supplied 1/4-20 button head fasteners with the 5/32 Allen wrench to secure the two panels together. When aligned properly they should interlock perfectly.

6. Next, thread and tighten the other two 1/4-20 button head fasteners to the bed bolt bracket. Follow this up with tightening down the factory rail hardware.
7. Finally, tighten back down the bed bolts. An impact drill might be needed.

And that's it! If you need additional guidance, we have a great installation video found on our YouTube page.
If you’re still having trouble we are only a phone call or email away from answering your questions.
Phone: 203-546-8981
Installation Guide: License Plate Relocation Kit - 2021+ Ford Bronco
Installation Guide: 4-Door Bronco Cargo Area MOLLE Panels