
Estimated Ship Date
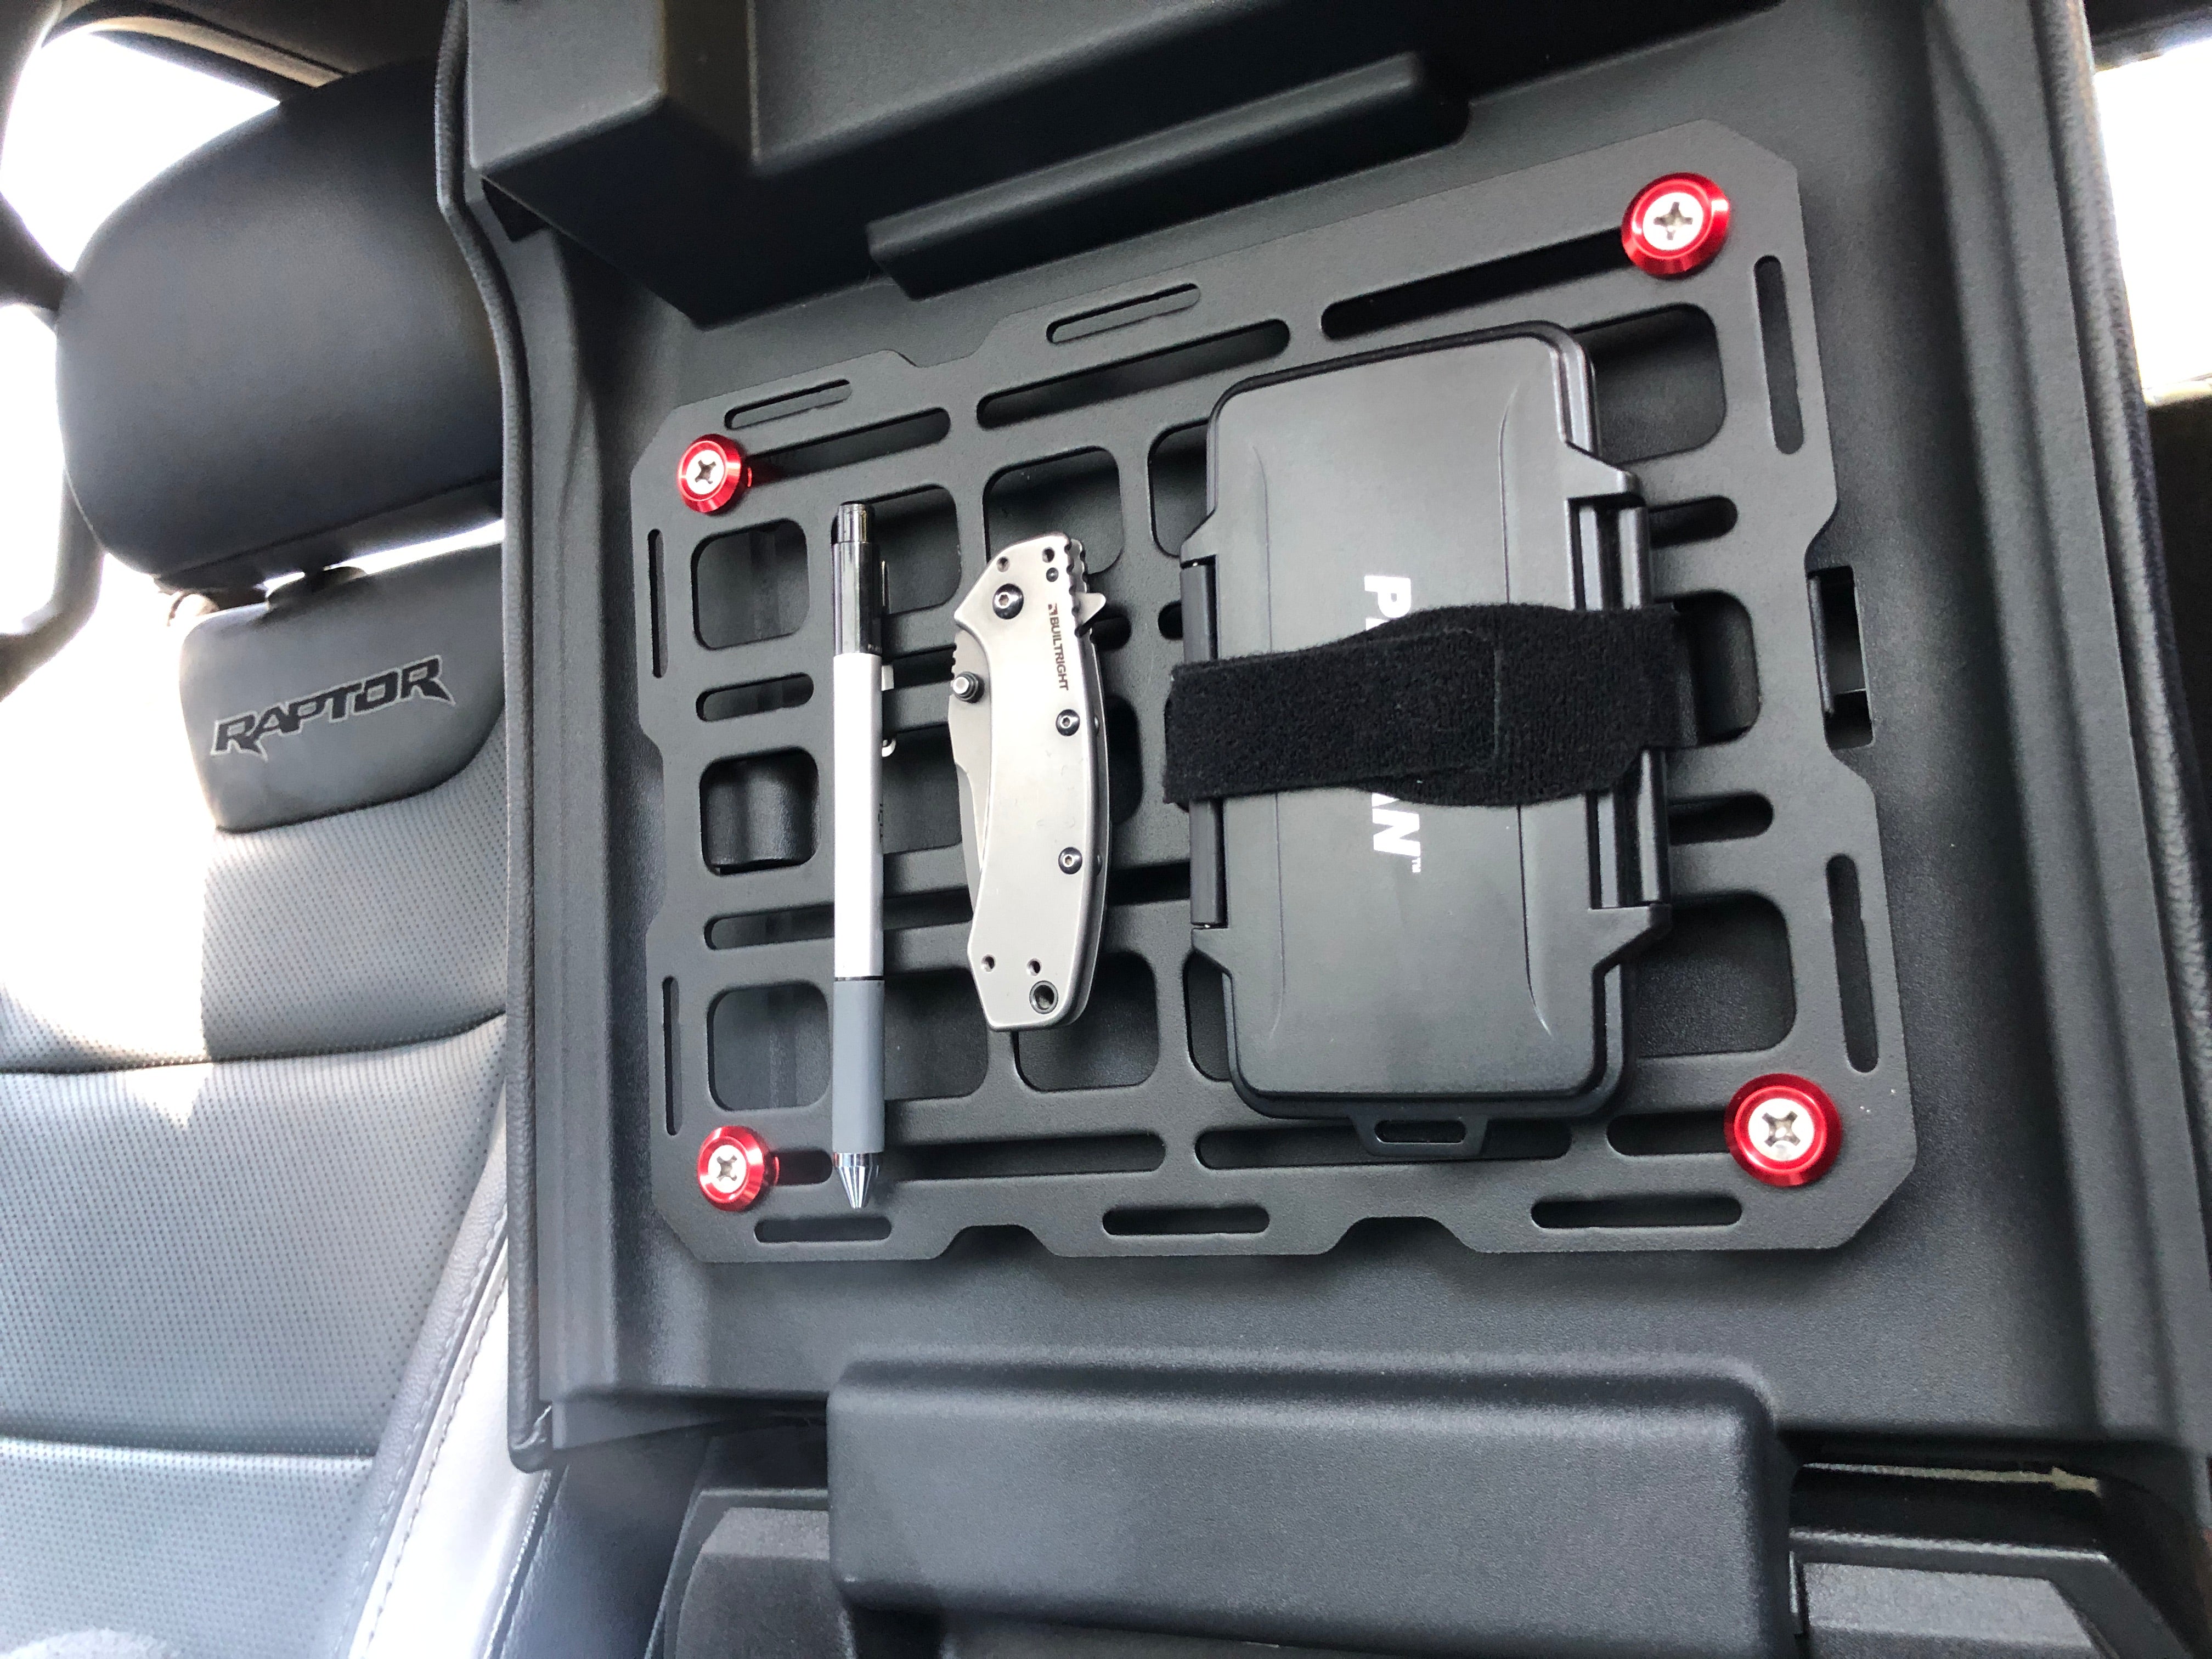
The new lineup of BuiltRight Tech Plates and hardware have quickly become quite popular for those looking to add a rigid steel MOLLE panel to their truck, trailer, toolbox or garage. We've been having fun watching how people use each of these five (more coming soon) sizes and the billet hardware that we make available. We've been doing some experimenting on our own and below is a quick demonstration of how we've installed a steel MOLLE panel (we call these 'Tech Plates') to the bottom of the center console lid in our 2018 Ford Raptor using a BuiltRight Hardware Kit.
What you'll need:
Procedure:
1. Open the center console lid and remove the plastic liner. To do this, start at the bottom, prying the liner away from the lid. As you get to the top of the liner, you'll need to depress the latch mechanism on each side to get the liner to release from the center console.


2. Next, take a look at the underside of the liner and see the clips that were holding the liner on. We need to avoid drilling into these clips. This is shown on a 2018 Ford Raptor, but other trucks will have similar structure. Mock up the MOLLE panel and mark the liner for drilling.


3. Finally, bolt the MOLLE panel to the liner using the BuiltRight hardware kit or your hardware of choice. The hardware kit comes with a variety of spacers so that you can customize the install for your use. I used the 5/8" spacers here.
4. With the MOLLE panel bolted to the center console lid liner, reinstall the center console lid. It should snap back into place without much effort.


That's it! Enjoy your new storage solution and be sure to send us photos of how you put our rigid steel MOLLE panels to use!
Video Procedure:
March 2019 - A Bumpy Couple of Months!
2021 Ford Bronco Sport - Bigger Tires
7 comments
Has anyone installed one of these in 23-25 f250 the lid is different then previous years and I’m wondering best way to remove it to not break clips
Hey Edwin! We cant make one off sizes, sorry, but we do have a big selection of universal sizes you can pick from! https://builtrightind.com/collections/universal-molle-panels
I’m looking size 38 1/2” x 19 1/2” and price?
What’s the weight holding capacity ? I’m considering to mount an ARB hydraulic jack on one of them.
Hi Chris, This is a universal product, the measurements are listed on the product page so you can take a look there and measure your truck to see if itll work!